Thursday, February 6, 2014

Spring is Coming...

And you know what that means!

Time to start seeds!


So I got out the grow light that Mr. Gardener made me last year out of PVC pipe.


Put down the insulation for my heat mats.


Set out my heat mats. 


And set up this nifty little Jiffy Greenhouse I got from Lowe's.

I'm not going to lie.

Lowe's seed starting selection was highly disappointing. They hardly had anything out yet.

Yes, I know it snowed today.

But we're starting to get behind starting from seed people. Let's go Lowe's! I don't care if Phil did or did not see his shadow. It's time to get started!


At least they did have these. I didn't order seed starting materials from Burpee thinking Lowe's would have their crap together. 

Wrong.

Now I know for next year.


But look how cool these are! Just add water and you get a little self-contained seed starting mix/pot. 

And you can plant them directly in the ground like this. 

So I'm thinking these will work well for plants that will be a little bigger come transplanting time, like peppers, tomatoes, pumpkins.


You just tear the top open a bit and get started. 


And they have a little lid to help keep the heat and moisture in as they get started. 


So this past weekend, I started Mini Harvest Blend Hybrid Pumpkin (just those little bitty mini guys) and Red Popper Sweet Pepper. They have little bitty fruits, too. About an inch or so wide and tall.

I'm really trying to keep all the planting in check this year. I am not confident in my ability to be successful in this endeavor. Time will tell. 

Next up with be tomatoes and petunias. (I do love me some petunias.)

And, of course, God can teach us in and through anything, so let's take a brief moment to reflect on how our work in the earth mirrors the Lord's work in us.

Luke 8:4-15

"While a large crowd was gathering and people were coming to Jesus from town after town, he told this parable:
'A farmer went out to sow his seed. As he was scattering the seed, some fell along the path; it was trampled on, and the bird ate it up. Some fell on rocky ground, and when it came up, the plants withered because they had no moisture. Other seed fell among thorns, which grew up with it and choked the plants. Still other see fell on good soil. It came up and yielded a crop, a hundred times more than was sown.'
When he said this, he called out, 'Whoever has ears to hear, let them hear.'
His disciples asked him what this parable meant. He said, 'The knowledge of the secrets of the kingdom of God has been given to you, but to others I speak in parables, so that, 
'though seeing, they may not see; though hearing, they may not understand.'
This is the meaning of the parable: The seed is the word of God. Those along the path are the ones who hear, and then the devil comes and takes away the word from their hearts, so that they may not believe and be saved. Those on the rocky ground are the ones who receive the word with joy when they hear it, but they have no root. They believe for a while, but in the time of testing they fall away. The seed that feel among thorns stands for those who hear, but as they go on their way they are choked by life's worries, riches pleasures, and they do not mature. But the seed on good soil stands for those with a noble and good heart, who hear the word, retain it, and by persevering produce a crop.'"

Let us plant in good soil and produce a crop for the Lord!

Wednesday, February 5, 2014

WiP Wednesday 8

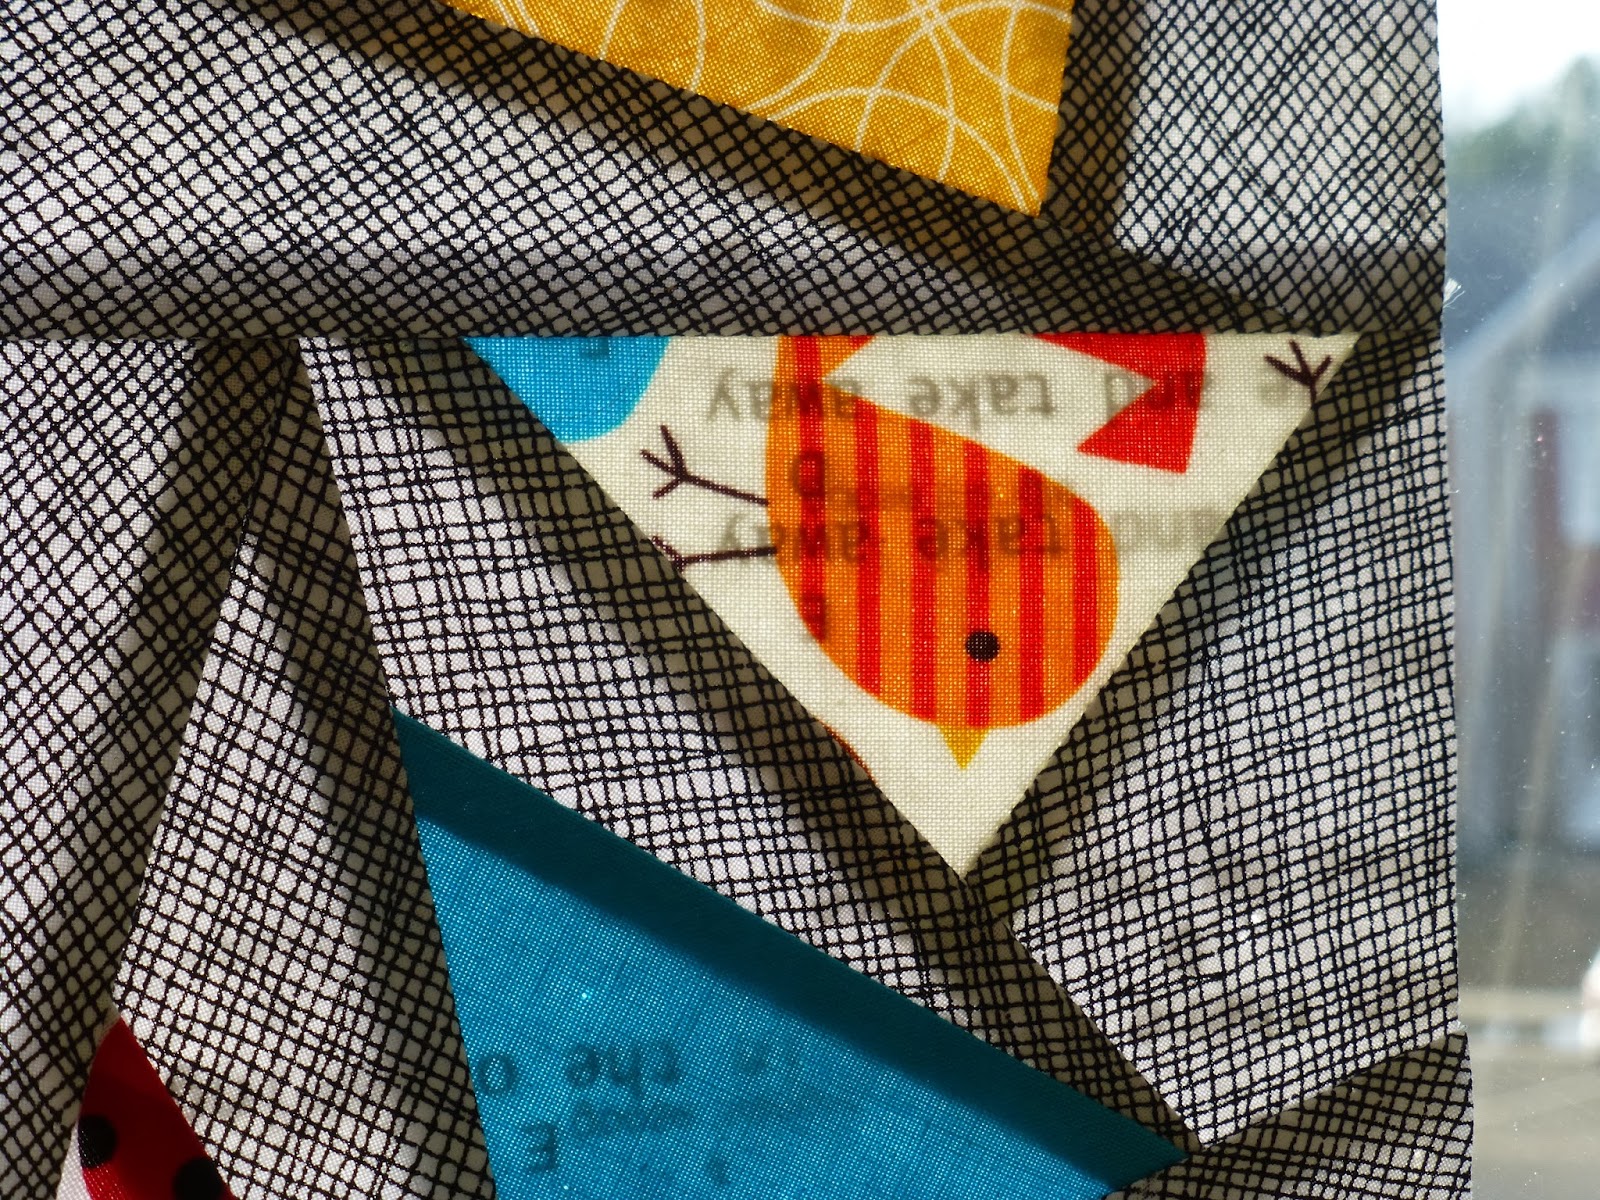
Got one more block done on my Circle of Geese quilt.

Slowly but surely...


Four down, five to go!


I think this little guy is so darn cute.

I love Riley Blake!


Here are all four all together.

I gotta get my act together. I think the baby shower is soon!

Darn it! I'm going to bring one of these to a baby shower! :)


Join me for WiP Wednesday at Freshly Pieced


Tuesday, February 4, 2014

Valentine Coaster Tutorial Part 2

Alright! Coasters Part 2. 

Hope you enjoy. :)

So, yesterday, we made a bunch of coaster tops. Today, we're going to embroider them and sew them into coasters.

1. First, you actually need to cut out your coaster bottoms. You'll need as many tops as you have bottoms, cut them 4.5" square. You can use whatever fabric you want, but for me, this is where the fabric ink and stencil came in. I used some Kona red (of some variety, not sure which exact one) and used the stencil brush to make gold dots all over. 

Like so:

Disregard the fact that I forgot to take a picture before I sewed it up. Whoops.

If you choose to do this, be sure to follow the manufacturer's directions.

You'll also need as many 4.5" squares of batting.

2. Set those aside for now. 

3. Determine your design. I decided to do some hugs and kisses and some hearts. For the heart, I drew it on a piece of paper and then scanned it into my computer. Then, I flipped the image over and printed. 

If you want to go green, or you're cheap like me, use scrap paper.


For the hugs and kisses, I chose a font I liked in Word and printed it (also in reverse). 


The reason is that when we transfer our image, it's going to be backward, so we want it to be opposite of how we want it from the get-go.

4. Get your handy iron-on transfer pencil and trace your images. A heavy, dark line makes for a better transfer. 


5. Following manufacturer's instructions, transfer your image to the white square in the center of your coaster tops.

(Excuse the quality of these next few photos. Our iron broke while I was making these and so the only photos I could get were in the evening.) 


First, I placed the image where I wanted it. Then, I started ironing. 


I found that the image transferred best when I first pressed down with the tip of the iron onto the various sections of the image. 


Then I pressed down with the whole iron. 


6. Now you should have an image that looks something like this.


7. Now for the fun part. :) Get your embroidery floss, a hand sewing needle, a hoop, and pick your poison. I mean color. 


8. Choose how many strands of the floss you want. I actually used all 6. I wanted my design to stand out.


9. I just did a simple running stitch. There are some fantastic tutorials on YouTube if you don't know how. 


10.  Square up your top so that it's nice and square. No more hangover on any of the ends.

11. Once you're done, gather your tops and backs. Time to make a sandwich!


12. For real though. You're making a sandwich. Put the bottom, right side facing up, on the bottom of the sandwich. Put the top, right side facing down, on top of the bottom. Put your batting on top.


13. Pin.


14. Sew around the sandwich using a 1/4" seam. Leave a hole 1-2" for turning. You'll want to backstitch to prevent ripping your seams when you turn right side out.


15. Clip the corners. This keeps them sharper when you turn right side out. Be sure not to clip your seams!


16. Turn right side out.

You may find that a turning tool or a chopstick helps you in this endeavor. This guy's pointy ends help turn out the corners. 

17. Give it a good pressing. 

18. Now you want to topstitch. Stitch pretty close to the edge, so that you close up the hole. You can just topstitch once around the edge if you'd like or you catch stitch around the coaster as many times as you'd like. I did mine twice. 


If you use metallic thread like me, make sure to lower the tension in your machine.


19. Clip your threads and admire your handiwork.


20. Give to a friend or enjoy a cup of coffee or tea. :)


Happy Valentine's Day!


Monday, February 3, 2014

Valentine Coaster Tutorial Part 1

So I am really excited today because I'm going to share my first tutorial with you!

Now, it is my first time writing a tutorial, so let me know if anything is confusing. :)

Valentine's day is just around the corner, so I thought it would be fun to make some cute little coasters for some folks. 


Yeah. Yeah. Yeah. I hear some of you. It's a Hallmark holiday, blah blah blah. 

But I like it.

And I like the chance to show a little love for some people around me. 

But if you must hate on V-day, then you can make these coasters in whatever theme you want. ;)

You can put whatever embroidered design you want. In fact, later on I'm going to show you a completely different design I've done.

I am going to break this into two parts, just for ease and clarity, so join me tomorrow for the second half. 


Supplies:

You're going to want the following:
  • A sewing machine
  • Embroidery floss in a variety of colors 
  • Hand sewing needle
  • White or light-colored fabric
  • Backing fabric 
  • Strips of colored fabric (this might be a great time to raid your scraps stash; the strips are as thin as 1.25 inches wide)
  • Machine sewing thread in a color of your fancy (I used some metallic thread from Gutermann)
  • An iron-on transfer pencil
  • A seam ripper
  • An iron
  • Pins
  • Batting
Optional: 
  • Fabric paint/ink
  • Paintbrush or stencil brush
Directions:

  1. Cut your white fabric into 2.5" squares. You'll need one square per coaster, so cut out the number you need based on how many coasters you plan to make.
  2. Cut your colored fabric into 1.25" x 3.75" strips. You'll need four per coaster. 
   
 3.  Pin your first strip to the white square. The left edge of the colored strip should be flush with the edge of the square.  There should be overhang.


4. Sew the strip to the square using a 1/4" seam allowance. (Excuse the fact that I'm clearly sewing later in the process here.) You can backstitch the end that is flush with the square, but do not backstitch on the side with the overhang.


5. Press the fabric open. You can either press your seams open or to the side; it doesn't matter. I pressed mine to the side with the colored fabric so the seams wouldn't show through the white. Your preference.


6. Pin on your next strip. Again, you want one edge to be flush with the square and one to overhang just a little bit. The overhang should be over the edge that was flush with the square in the last step.


7. Sew with a 1/4" seam allowance. You can backstitch at both ends this time.


8. Press open.


9. Pin down the third strip. Same process as before. One end should be flush; the other should have a little overhang. The side with the overhang should overlap with the side that was flush in the last step.


10. Sew using a 1/4" seam allowance. Again, you can backstitch at both ends.


11. Press open.


12. This is what it should look like at this point in the process. One side is left overhanging. Get out your handy dandy seam ripper. 


13. Rip down about halfway. Pin the strip out of the way.


14. Pin your final strip down. Same process as before. One end should be flush with the side that is still intact. The other should overhang about a 1/4" or so on the side that you just pinned down. 


15. Sew using a 1/4" seam allowance. Backstitch at both ends. Press open. 


16. I forgot to get a picture here; my apologies. Remove the pin from the side you pinned down. Fold it back down over the side you just completed. Sew using a 1/4" seam allowance. Backstitch at both ends. Press.


17. You'll end up with a coaster top that looks like this. (We'll square them up later.)


18. Make as many as you need. 

19. Join me tomorrow where I'll show you how we'll make a fun back and an embroidered design on the front, as well as sew the coaster. 

20. Breathe! You've just completed the hardest part! :)


Thanks for joining me! Hope to see you tomorrow!

Let me know if you have any questions.

Join me for Funday Monday at Still Being Molly and Lipgloss and Crayons

still being [molly]